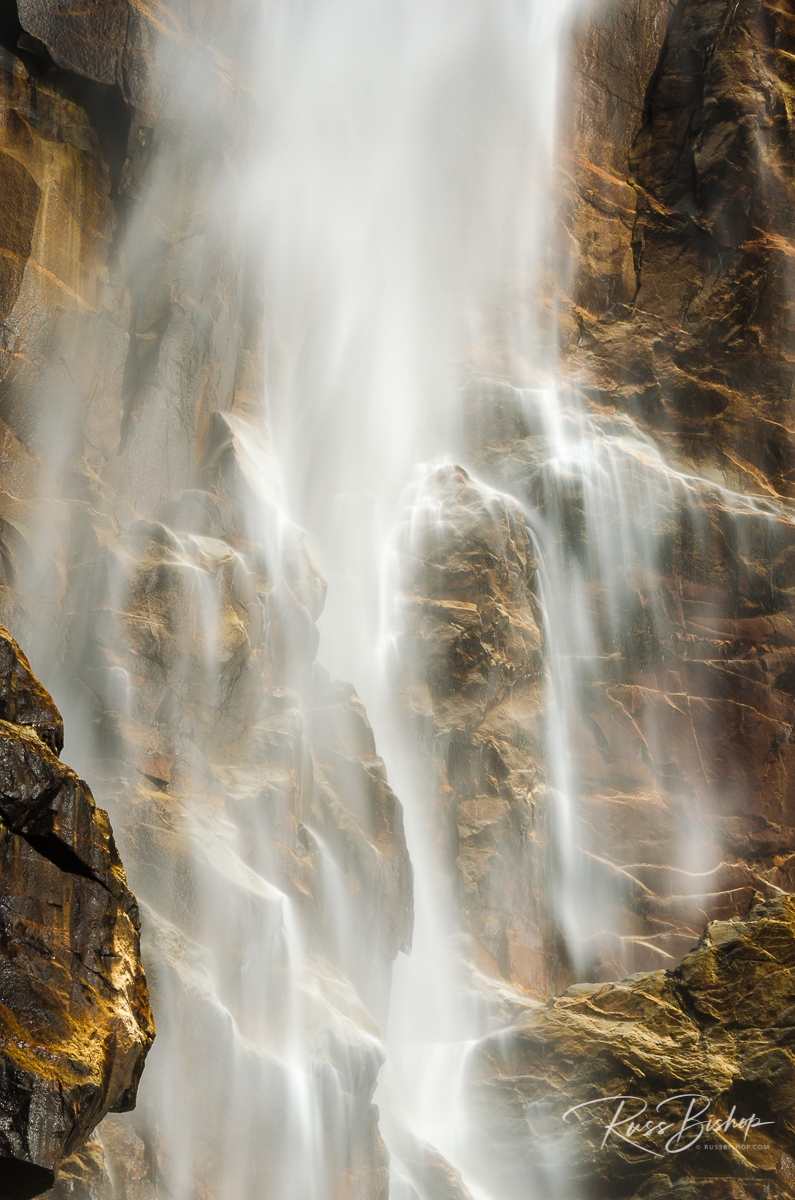
The Emotion of Motion. There’s something fascinating about visual movement that stirs our souls and creates a visceral response. I’m not referring to the exhilaration of skydiving or skiing down a mountain, but the more subtle visual connections we make while witnessing a dance performed on a stage, watching clouds race across a desert sky, or simply viewing a photograph of a silky waterfall frozen in time.
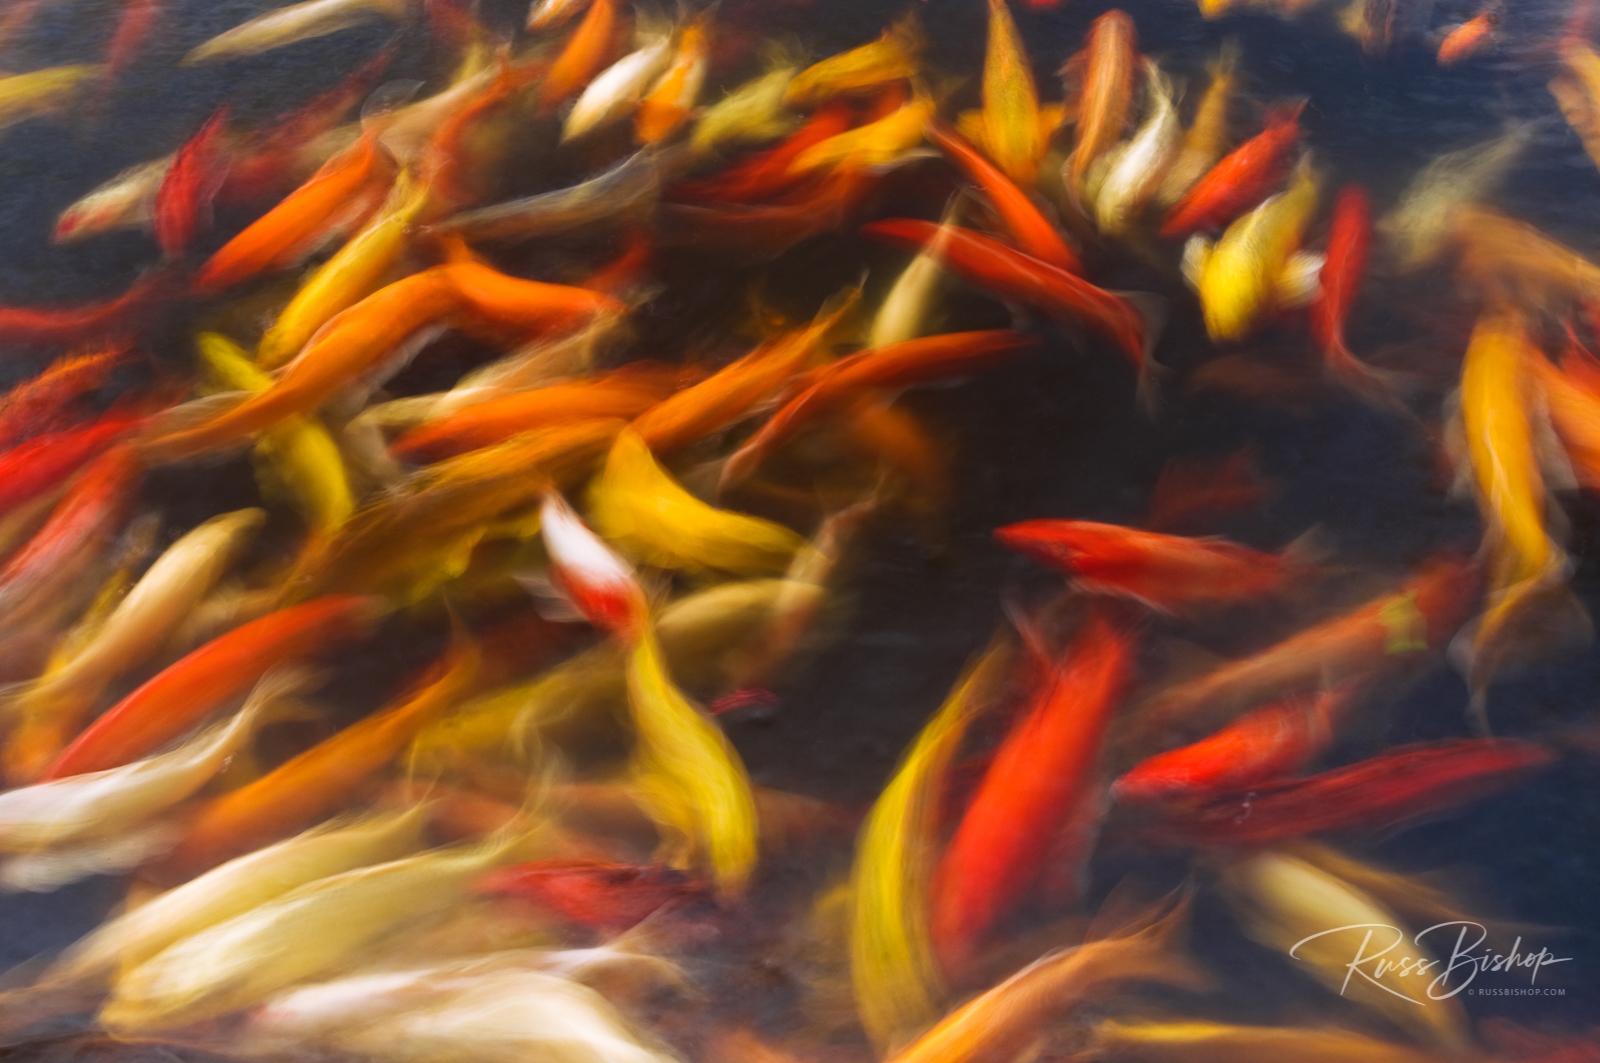
As photographers we have the privilege of stopping time or even slowing it down just long enough to give our viewers a glimpse of a world that can never be seen with our own eyes. We can illustrate a repetitive process over time such as a series of waves washing upon a shore, or create an abstract vision of color and form that has no resemblance to the natural world.
At these moments, there is a bond that occurs between subject and viewer that’s hard to put into words. Perhaps it’s our secret desire to slow the inevitable march of time or just a sense of voyeurism at seeing something beautiful that we know we shouldn’t be able to. I like to think of it as the emotion of motion.
©Russ Bishop/All Rights Reserved