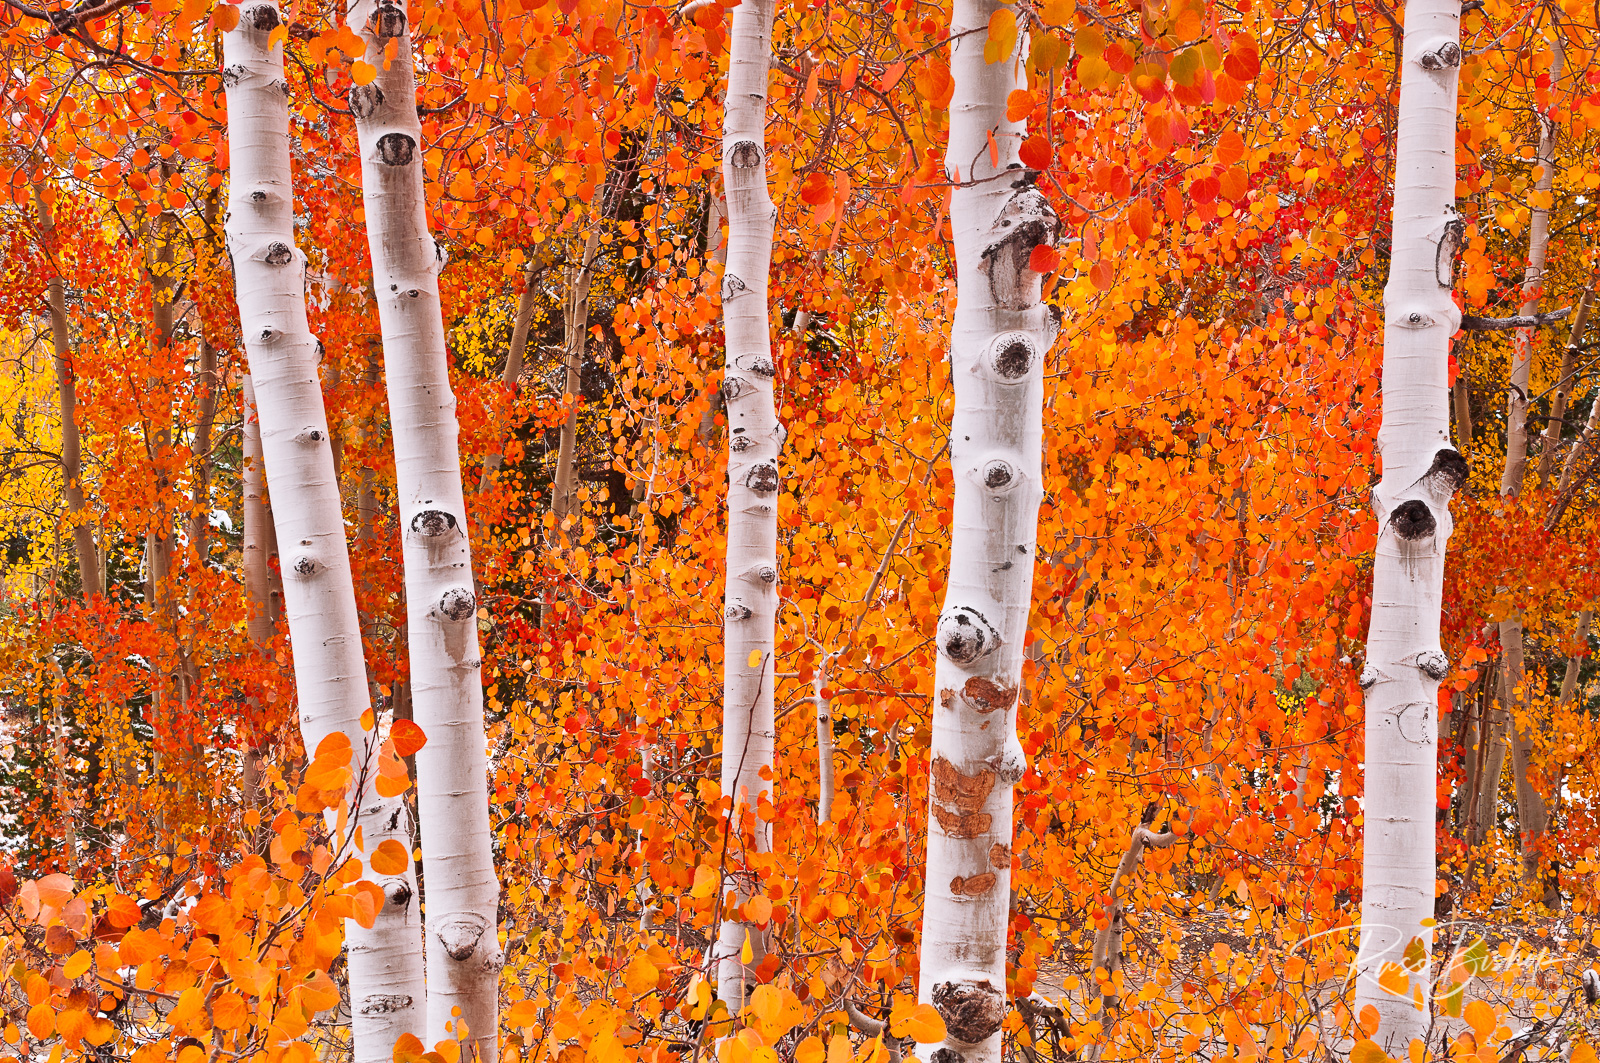
Fresh snow on fall aspens, Inyo National Forest, California
The Art of Seeing. The digital age has opened up a whole new world of creative possibilities for the landscape photographer. From HDR (High Dynamic Range) and stitched panoramas to focus stacking and exposure blending a myriad of options exist. And filters have always been invaluable in controlling and shaping the light in camera just as much in the digital realm as in the days of film.
Yet with all of the tools available it’s easy to lose creative focus in an attempt to include a popular technique or push a filter to its limits. As with the constant temptation to buy the latest camera or software it’s important to remember that the gear or the technique isn’t what makes an image shine, but the vision. That’s the essence of creative photography and yet so often misplaced amid the vast array of today’s technical possibilities.
No matter what the future may bring our most important tool as outdoor photographers will always be our mind’s eye. The equipment in our bag or on our desktop is just a means of helping the viewer connect with what we felt emotionally when we preserved that moment in time.
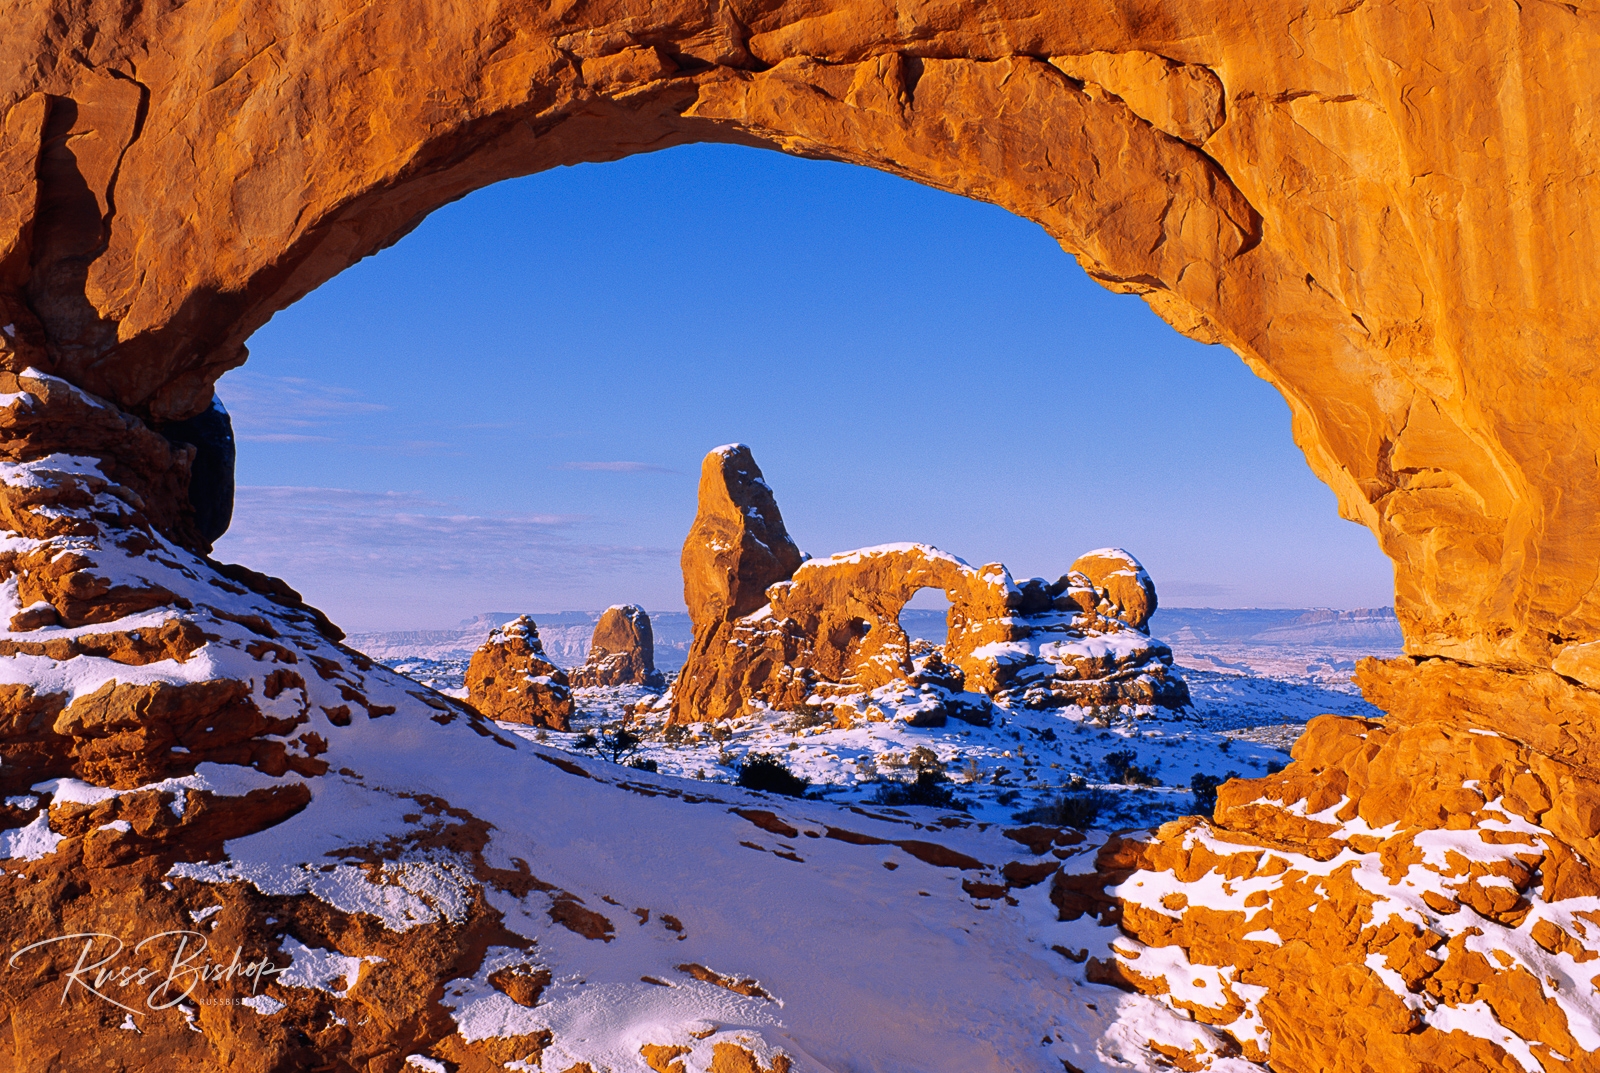
North Window framing Turret Arch in winter, Arches National Park, Utah
Cold Snap – Tips for Successful Winter Photography. The last of autumn’s leaves have fallen and it’s time to focus on the next photographic season (and one of the most challenging!). Winter is a wonderful time to explore and create striking images, but preparation is the key to success. Here are a few tips to make your next photo outing both comfortable and rewarding.
1) Warm Clothing. This might seem obvious, but being comfortable for long hours in the elements will allow you to focus on photography and not your numb toes. Waterproof snow boots are essential along with a hat, gloves, and layers so that you can adjust your body temperature during the day as temperatures rise. Two of my sponsors REI and Patagonia have a large selection of gear to keep you warm and dry.
2) Hand Warmers. Chemical hand warmers can be purchased at most sporting good stores, heat up instantly, and last up to 8 hours. They are excellent inside gloves, for keeping spare batteries warm, and in pockets when you need to warm your hands after taking your gloves off to change batteries or memory cards.
3) Spare Batteries. Today’s lithium-ion camera batteries are a modern marvel of compact energy and perform quite well in the cold, but keeping them warm inside your jacket will extend their life even more. I always have one or two spares and avoid excessive image reviewing in the field. Turning off features such as camera sounds and lights can also greatly help to extend battery life.
4) Tripod Care. I always recommend using a tripod to maximize sharpness and winter is no exception. But when shooting in snow you need to be careful not to over extend the legs and damage the tripod. To avoid this, simply keep the legs together as you sink the tripod in the snow and they will naturally expand to form a solid base. Covering the legs with custom covers or pipe insulation also makes them easier to handle in the cold and more comfortable when carrying over the shoulder.
5) Expose for the Snow. Back in the days of film this was easy to forget and would often result in an entire roll of underexposed images. The problem is your camera’s light meter sees everything as neutral gray (including snow) and adjusts your camera settings accordingly. In scenes with large amounts of snow, this results in images being up to 2 stops underexposed. Fortunately this is easily detected and corrected with today’s digital cameras by setting the exposure compensation dial (typically 2 stops overexposed, but check that histogram). As long as the light is consistent, this works well in both auto and manual metering modes.
6) Breathe Easy. It’s not that standing in the snow is physically exhausting, but your breath can be detrimental to your photography! If it’s cold enough that water vapor will create a sheet of ice on the back of your camera, which is difficult to remove and could cost you the shot. It takes a little practice, but breathing out of the side of your mouth or holding your breath while composing works well to prevent this.
So don’t let the cold keep you from enjoying this wonderful season. It’s a special time with unlimited photographic possibilities, and with a little preparation and care you’ll be experiencing one of nature’s best displays and capturing all that beauty in comfort.
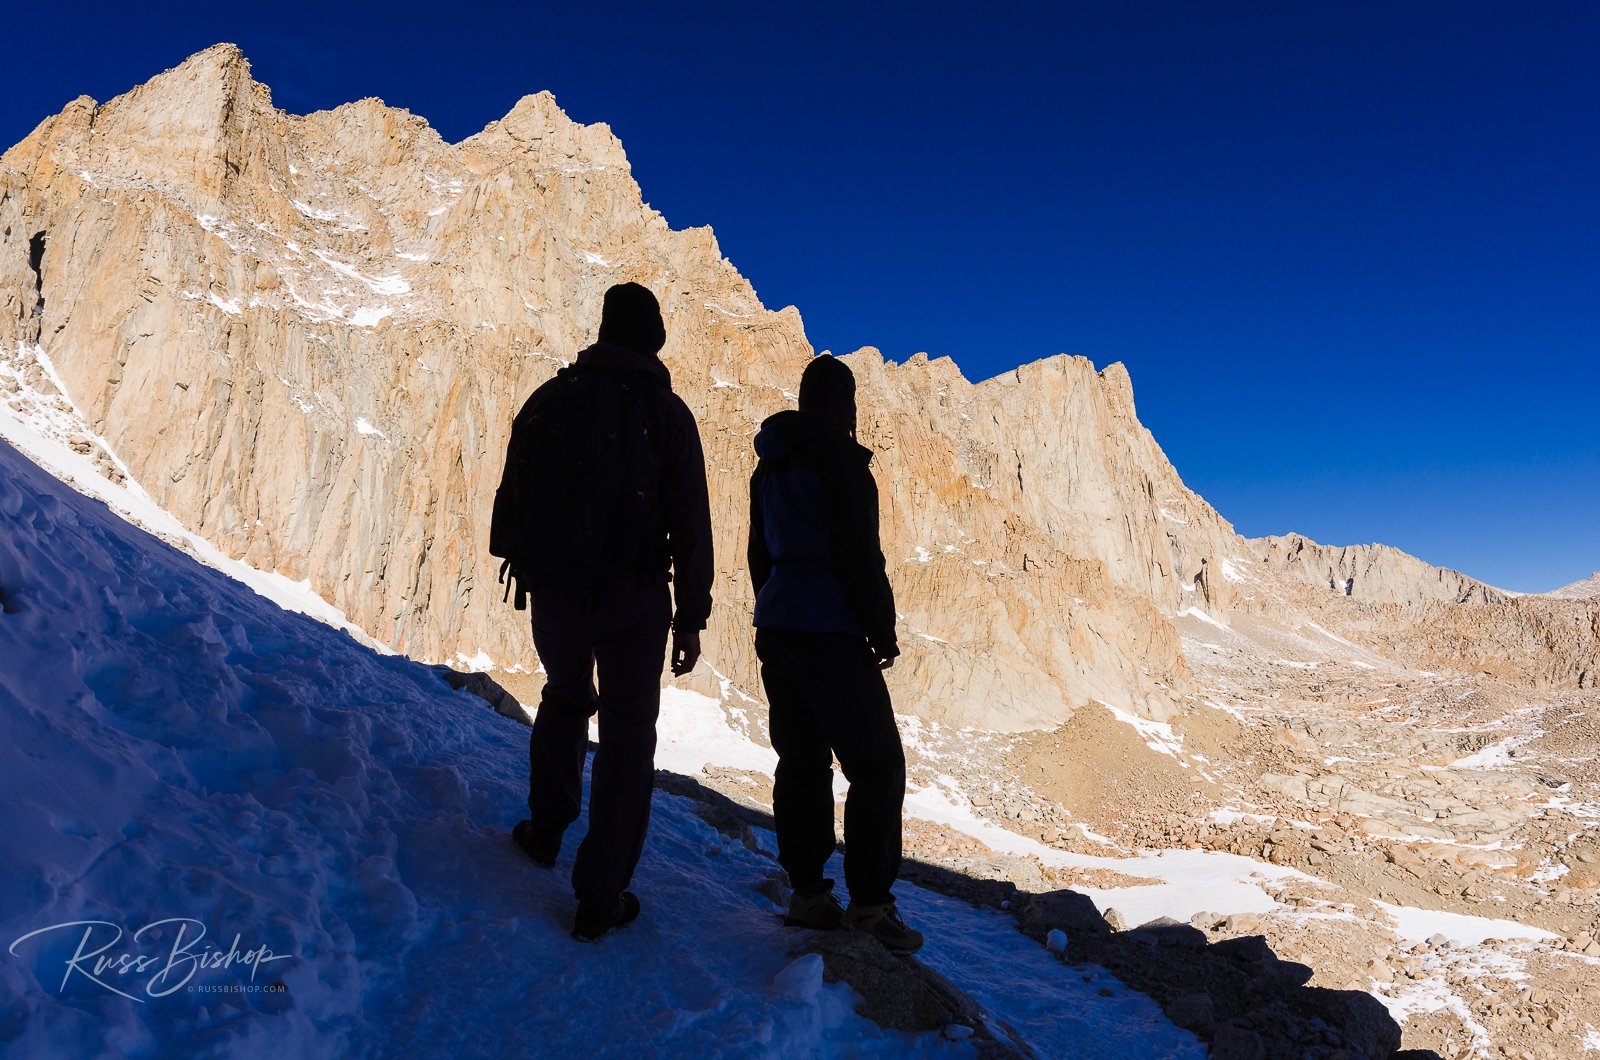
Hikers on the Mount Whitney trail, John Muir Wilderness, California
Light and Fast – Tips for Dynamic Adventure Photography. As with many outdoor photographers, the late Galen Rowell was a big influence in my life and early in my career I adopted his mantra of “light and fast” when photographing in the wilderness. His advice still works as well in today’s digital world as it did in the days of film, and I’m sure he would have embraced the realm of pixels and megabytes.
When shooting adventure images, either on the trail or the side of a mountain, I still use the same techniques I did 25 years ago when my camera of choice was a lightweight Nikon FM2 loaded with Velvia and matched with my favorite 24mm f2.8 lens. Although the F3 was my workhorse when shooting fine art landscapes back then (just as my D850 is today), these bodies are overkill for action shots when weight and efficiency are prime considerations in getting the shot.
Today my D7200 has replaced my FM2 with its perfect balance of weight and function (even the batteries are the same as my D850!). And my tiny Nikkor 16mm f2.8 is the ideal complement to that body, with its DX crop revealing an image almost identical to my favorite 24mm. Both of these lenses are extremely sharp even handheld, and offer amazing depth of field for those in-your-face action shots. Most importantly, this setup is so small and light I don’t even know it’s there when skiing, trekking or climbing.
It’s been said many times that vision is more important than gear when making captivating images, and this is especially true when you leave the pavement. Using the available light and following the action is paramount when the conditions are rapidly changing, and the last thing you want is for your equipment to slow you down just when the images are starting to materialize.
Another often overlooked element is physical conditioning. As a photographer you might not be making all the hard moves that you’re trying to document in your subjects, but you often need to travel lightly and move quickly over rough terrain just to keep up – all while staying one step ahead of the oxygen-depleted air at higher altitudes!
Adventure photography is a fast paced form of visual storytelling that should leave your audience feeling like they are part of the action. But as any seasoned wilderness traveler will tell you, the key to success is to stay fit, pack smart, and travel light. Remember Galen’s rule and make sure your equipment is as transparent as possible. It’ll allow you to live in the moment – and that’s where the great images are found.